A damaged window can compromise your home's security and energy efficiency. Learn the essential steps to repair it effectively and restore your peace of mind.
Understanding the Types of Window Damage
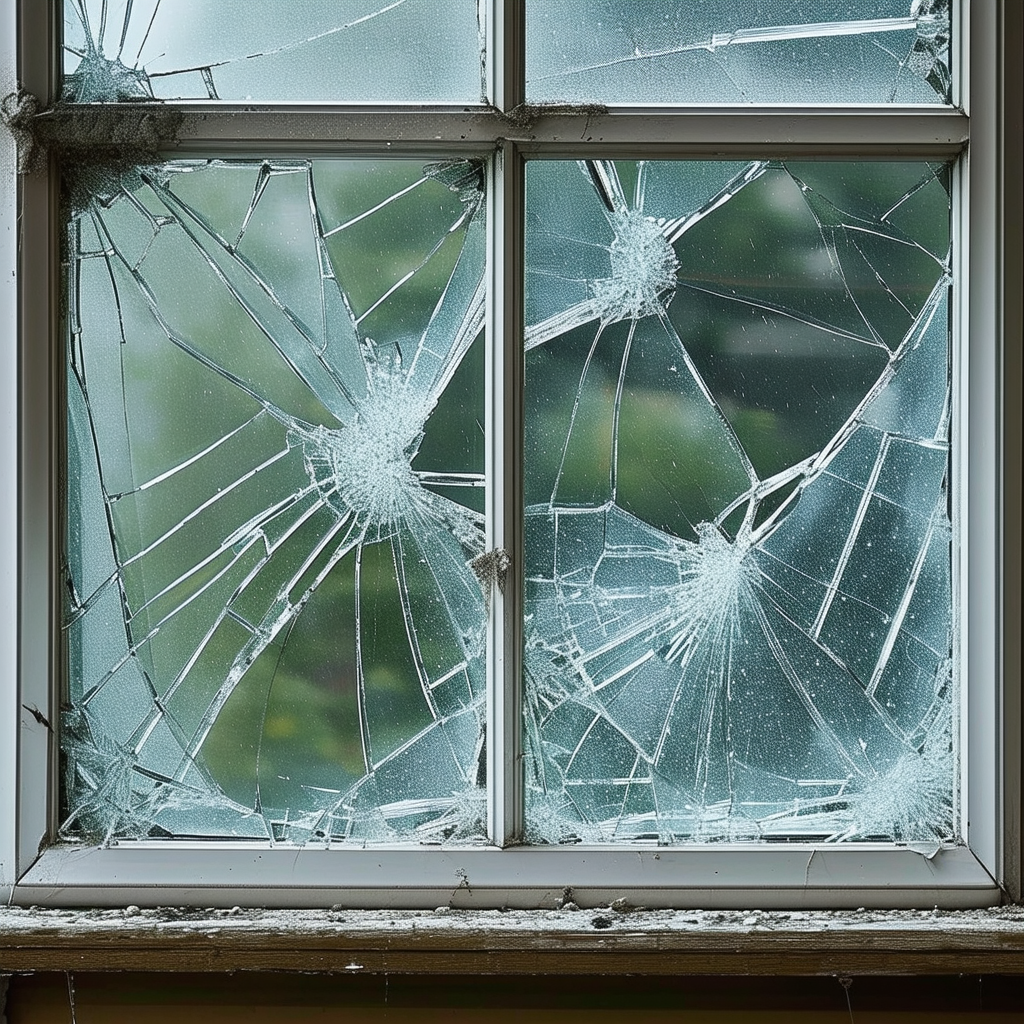
Windows can sustain various types of damage, each requiring a different approach for repair. Common types include cracks in the glass, broken window panes, damaged window frames, and issues with the window seals. Cracks and chips in the glass are often the result of accidental impact or extreme weather conditions. Broken panes may need full replacement, while frame damage could involve wood rot or warping. Seal issues often lead to drafts and decreased energy efficiency.
Understanding the specific type of damage your window has sustained is crucial for determining the appropriate repair method. This initial assessment will guide you in gathering the right tools and materials and in following the correct repair procedures.
Essential Tools and Materials for Window Repair
Before starting any window repair project, it's important to gather all the necessary tools and materials. Commonly required items include a tape measure, putty knife, glazing compound, replacement glass, a hammer, nails, and a screwdriver. Safety gear such as gloves and safety glasses are also essential to protect yourself during the repair process.
Depending on the type of damage, you might also need specialized tools like a glass cutter or a heat gun. Make sure to have everything on hand to ensure a smooth and efficient repair process.
Step-by-Step Guide to Repairing a Damaged Window
1. **Assess the Damage**: Start by carefully examining the window to determine the extent of the damage. Identify whether the glass, frame, or seals are affected. 2. **Remove the Damaged Components**: If the glass is cracked or broken, use a putty knife to remove the old glazing compound and carefully take out the damaged glass. For frame repairs, remove any rotted or damaged wood. 3. **Measure and Cut Replacement Glass**: Measure the opening accurately and cut a piece of replacement glass to fit. If you’re not comfortable cutting glass yourself, many hardware stores offer this service. 4. **Install the New Glass**: Apply a thin layer of glazing compound around the frame, press the new glass into place, and secure it with glazing points. Apply more compound to seal the edges. 5. **Final Touches**: Smooth out the glazing compound with a putty knife and allow it to dry completely. If you repaired the frame, sand it smooth and apply a fresh coat of paint or sealant.
Common Mistakes to Avoid During Window Repair
One common mistake is failing to measure accurately, which can lead to ill-fitting replacement glass. Always double-check your measurements before cutting or ordering new glass. Another mistake is not removing all of the old glazing compound, which can prevent the new compound from adhering properly. Ensure the area is clean and free of debris.
Avoid using too much force when handling glass to prevent further breakage. Finally, don't rush the drying process of the glazing compound; doing so can compromise the integrity of the repair.
When to Call a Professional for Window Repair
While many window repairs can be tackled by a confident DIYer, some situations call for professional intervention. Extensive damage to the window frame, particularly in older homes, may require specialized skills to repair or replace. If the window is part of a larger system, such as a bay window or a custom-designed feature, professional help might be necessary to ensure proper alignment and functionality.
Similarly, if you’re dealing with a double-paned or insulated glass unit (IGU), professional replacement is often the best option. These windows require precise sealing to maintain their energy efficiency.
Do you have a window that has been damaged or needs repairing? Click below to have a FREE consultation with a window repair expert